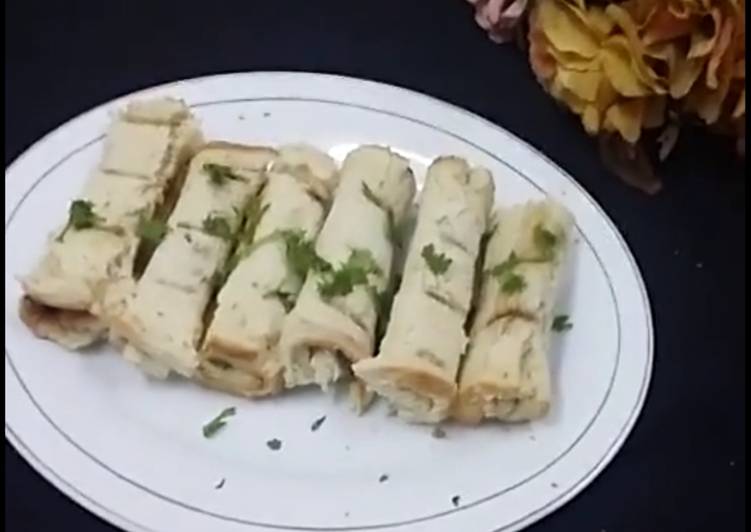
Microwave Garlic Bread Rolls.
Literally this is a simple recipe just subsequent to the additional ones. I think the hardest part is to locate the best ingredients consequently you can enjoy the delectable Microwave Garlic Bread Rolls for your lunch with your associates or family.
You can have Microwave Garlic Bread Rolls using 6 ingredients and 5 steps. Here is how you achieve it.
Ingredients of Microwave Garlic Bread Rolls
- It's 7-8 of Bread slices.
- Prepare 4 tbsp of Garlic paste.
- It's 1 tbsp of Red chilli flakes.
- You need 3 tbsp of Coriander leaves chopped.
- It's 1/2 tsp of Salt.
- It's 2 tbsp of melted Butter.
Microwave Garlic Bread Rolls step by step
- Trim the bread slices at first. To the melted butter, add in all the ingredients to a bowl and mix well. If salted butter is used, there is no need of adding salt..
- Spread this butter mix on all slices evenly. Roll out gently and secure with a toothpick to hold everything in place..
- Arrange them on the grill stand of your microwave and set the time to 2 minutes at first. Then microwave them for 2 more minutes or a little more as desired by you. I have used a 1,250 Watts Sanyo Microwave here..
- Different microwaves have different temperature settings. Hence it is necessary to check and use it accordingly..
- Yummy, crispy Garlic Bread Rolls are ready in a jiffy. Try this super easy recipe and leave a feedback dear friends. It's a perfect one for breakfast as well as an after School snack for our kids or a chai time indulgence for our adults. Happy Snacking!.
Just to let you know this recipe already tested by team, you suitably follow every the cooking instructions and collect the ingredients to get the savory Microwave Garlic Bread Rolls. If you have questions or requests approaching this article, keep busy open us as soon as possible. And don't forget to bookmark this page appropriately you will easily find it over later. The content source: https://cookpad.com
