Taisen's cheesey garlic bread. Two types of cheese are mixed with green onions, garlic, and mayonnaise to make one incredible, and super cheesy, garlic bread. All Reviews for Stef's Super Cheesy Garlic Bread. I love pairing this cheesy garlic bread with any of my go-to pasta dishes or serving it next to a big salad.
 My husband happened to be home while I was recipe testing these Cheesy Garlic Breadsticks a few weeks ago.
I planned it that way because he LOVES cheesy bread and.
Cut into slices and enjoy it hot from the oven.
My husband happened to be home while I was recipe testing these Cheesy Garlic Breadsticks a few weeks ago.
I planned it that way because he LOVES cheesy bread and.
Cut into slices and enjoy it hot from the oven.
Surprisingly this is a simple recipe just like the extra ones. I think the hardest part is to locate the best ingredients so you can enjoy the appetizing Taisen's cheesey garlic bread for your dinner with your associates or family.
You can cook Taisen's cheesey garlic bread using 6 ingredients and 10 steps. Here is how you cook it.
Ingredients of Taisen's cheesey garlic bread
- It's 1 of Italian bread slices, with or without seeds on the crust (you can use any kind of bread and however many slices you need).
- It's 1 of melted butter (depending on how many slices your making is how much butter you need) enough to cover 1 side of each slice.
- It's 1 of garlic powder (to your taste).
- You need 1 of garlic salt (use carefully as you don't want much salt).
- You need 1 of chopped parsley or parsley flakes (just a little).
- You need 1 of mozzarella cheese (as much as you like). optional.
We eat Italian food nearly once a week. And by Italian, I mean spaghetti and meatballs. My favorite has got to be Little Ceasar's Italian cheese bread…soft, cheesy, and hot-off-the-oven cheese bread is my ultimate indulgence. These Easy Cheesy Garlic Breadsticks are made using a refrigerated pre-made pizza dough, and are topped with garlic and mozzarella cheese for the ultimate side dish or appetizer.
Taisen's cheesey garlic bread step by step
- Preheat your oven to 300°F.
- Melt butter in a saucepan or frying pan. Allow to cool just a little so that it is a little thick and not runny.
- After the butter is melted, remove from heat and add in garlic powder, garlic salt and parsley. Mix together. Mine started to make a bit of a paste from the butter cooling and the powder..
- Cover a cookie sheet with wax paper, and place your slices of bread onto the wax paper..
- You can leave this out if you prefer, but to 1 slice I spread butter on it first before spreading the melted butter and spices. It honestly was much better. Your choice !.
- Take a knife and spread on the butter and spice mix onto one side of each piece. You can do both sides if you like for more butter and garlic flavor..
- Place the cookie sheet into the oven. Depending on how crispy you want your bread is how long you will keep it in the oven. Keep an eye on it as you don't want it to burn. About 5 to 8 minutes. If your oven runs hotter, less time and if it runs lower then longer time. My oven likes to do both so I play it by checking it constantly. (every 2 minutes).
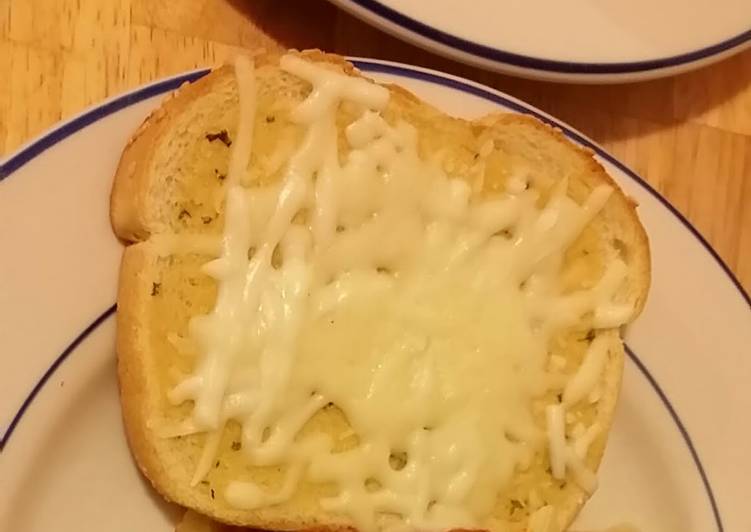
- After they get to a nice crisp, pull them out of the oven. Sprinkle mozzarella cheese over top. As much or as little as you like. You can use any cheese you like, or mix several different cheeses for this..
- Place the bread back into the oven only until the cheese is melted..
- Serve and enjoy with any dish you like garlic bread with or alone with a marinara sauce as a snack !.
These easy cheesy garlic bread sticks are made with fresh garlic, shredded mozzarella and parmesan cheeses, and hot dog buns. This is the best recipe for garlic bread I have found. I am a member of the Collective Bias® Social Fabric® Community. Cheesy Garlic Bread Stuffed Challah is the ultimate comfort food! It is amazingly delicious, crispy on the outside and moist inside.
I would just to let you know this recipe already tested by team, you suitably follow every the cooking steps and prepare the ingredients to get the delectable Taisen's cheesey garlic bread. If you have questions or requests regarding this article, entertain open us as soon as possible. And don't forget to bookmark this page appropriately you will easily locate it once again later. The content source: https://cookpad.com
